Image Tracking
Introduction
NRSDK's Image Tracking capability helps you build AR apps that can respond to and follow images in the natural environment. These can include books, signs, posters, or logos.
A set of images can be uploaded to the database as pre-trained references. These images can then be tracked by NRSDK in the physical world while the transformation of the images are updated during the session.
Capabilities
- NRSDK can detect and track images that are fixed in place, such as a painting on a wall or a book on the table. It can also track moving images, such as a rotating billboard or a poster held by someone walking around.
- After NRSDK begins tracking an image, it provides estimations for position, orientation, and physical size. The image's transformation estimates are updated continuously. Its accuracy increases as NRSDK gathers more data from different angles.
- NRSDK can remember up to 10 images in the environment. However, these images cannot be tracked simultaneously in the current version. Therefore, only one image can be tracked in each frame. Additionally, NRSDK will not track multiple instances of the same image.
Requirements
Image Selection Checklist
- Reference images should be in JPEG format, grayscale or RGB color, and have a dpi value of 150. The dimensions of printed reference images should be less than 1m^2.
- To enable better tracking, it is important to use images with well-distributed feature points and low degrees of self-similarity. NRSDK can evaluate the tracking quality of the reference images when you add them to the database. Images with low tracking quality cannot be added to the database.
- For those who design original reference images, we suggest to export the image using Adobe Illustrator rather than Adobe Photoshop. This is because Photoshop has looser export standards and NRSDK can sometimes fail to read information on pixel density.
Image Tracking Condition Requirement
- Images printed with dull surfaces perform better than glossy ones due to reduced light reflections.
- The quickest way to initialize image tracking is to view the image at a slight angle while keeping the image flat and undistorted.
- The NRImageTracking Tool gives a score between 0 and 100 for each uploaded reference image. We recommend using images with a score of 65 and above. Using an image with a score lower than 40 will result in poor tracking quality.
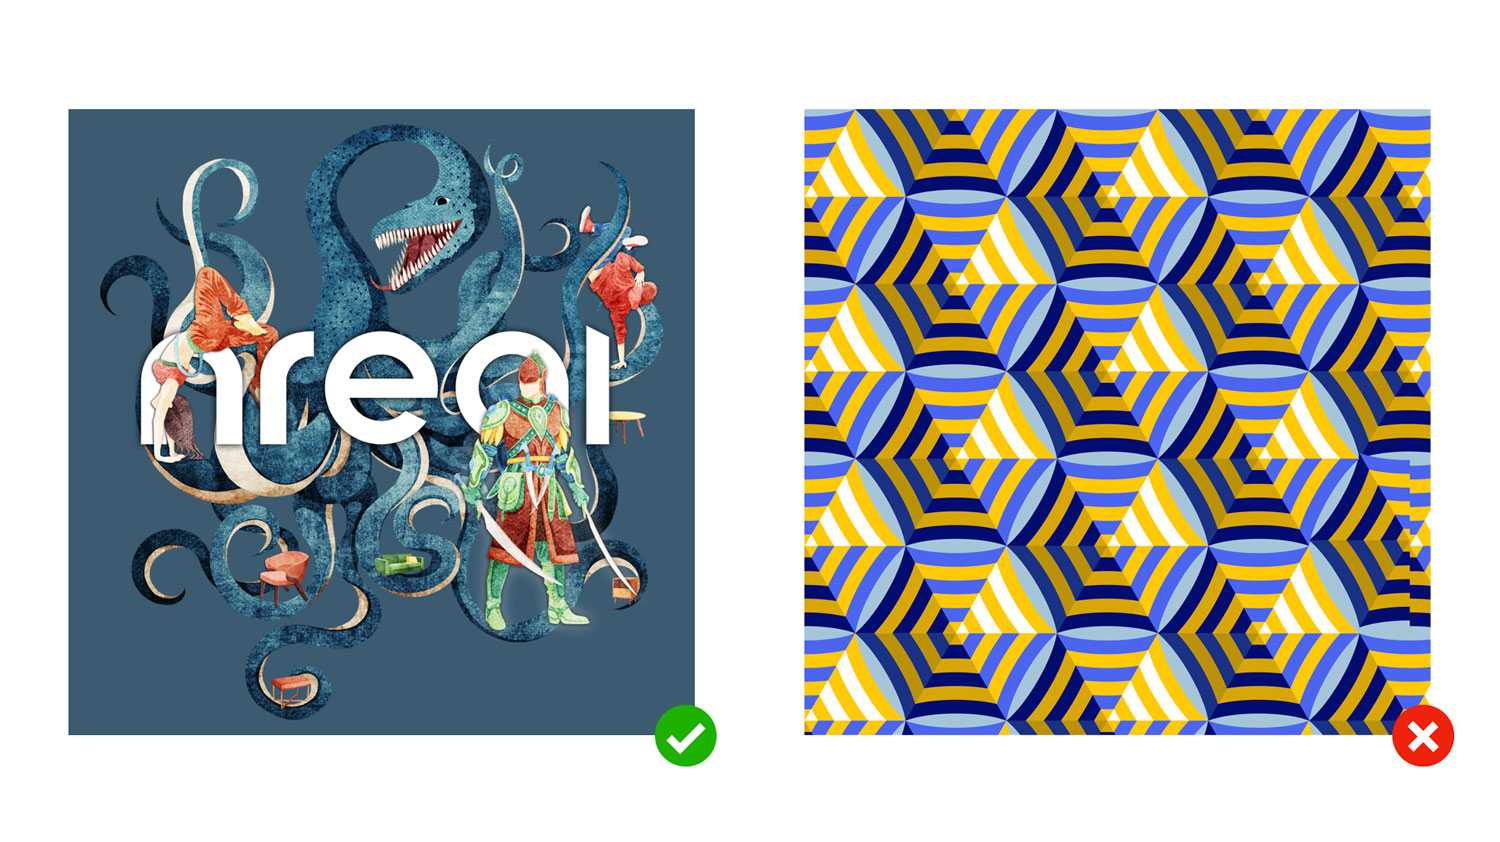
Image Tracking Tutorial
Learn how to use the Image Tracking feature in your own apps.
Build and Run the Sample App
Create a new project in Unity.
Need help setting up? Try our Quickstart for Android Unity tutorial.
- Before you build the app, make sure you include the tracking image scene located in
Assets > NRSDK > Demos > ImageTracking
Make sure your Nreal computing unit is connected to your PC before clicking Build and Run. Unity builds your project into an Android APK, which will be installed onto the computing unit. The app can then be launched once you plug Nreal Light glasses into the computing unit.
As you move your Nreal Light glasses, the app automatically detects and tracks images from the set of reference images.
Create the Database File
Select one or more pictures you want to use with the mouse, then right-click and select the Create > NRSDK > TrackingImageDatabase menu to create the database file.
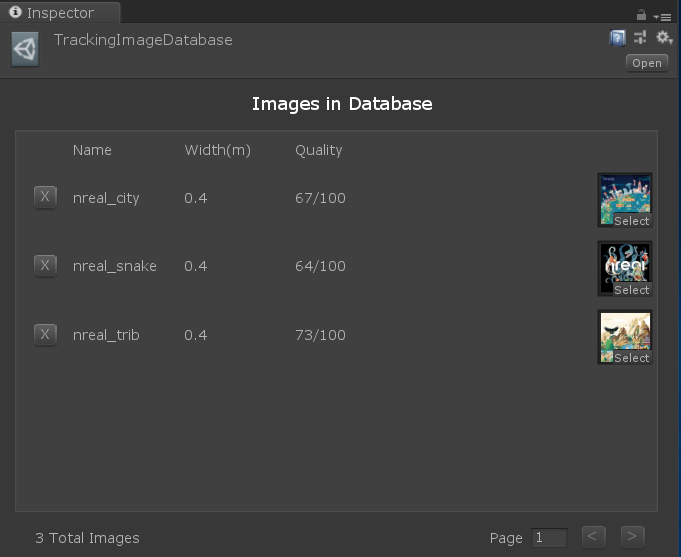
A new image database is created in the same folder as the reference images.
The images in the database will be shown in the Inspector window along with image quality scores. We recommend using images with scores higher than 65 to guarantee good tracking performance.
The dimensions of the physical image (in meters) for each uploaded reference image should be the same as the dimension shows above.
You can click 'x' to delete items.
Note: The size of the images you use must correspond to the size in the database
Set the Database File
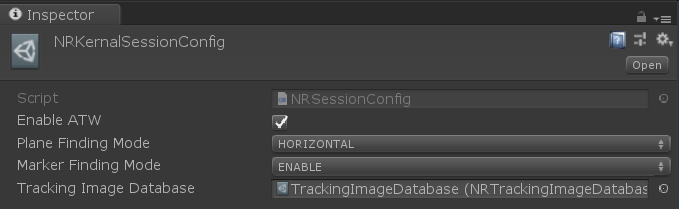
In the Project window, go to
Assets > NRSDKand open NRKernalSessionConfig.In the Inspector window, click the box next to Tracking Image Database and select the database file you created.
Get Tracked Image
See MarkerDetecter.cs , located in Assets > NRSDK > Demos > TrackingImage > Scripts for an example on how to get the trackables:
// Get a new NRTrackableImage
NRFrame.GetTrackables<NRTrackableImage>(m_NewTrackableImages, TrackableQueryFilter.New);

// Get the trackable's position
NRTrackableImage image = m_NewTrackableImages[i];
image.GetCenterPose()

// Get the trackable's size
image.Size;

// Get the trackable's state
image.GetTrackingState();     //Tracking,Paused,Stopped


// Get all NRTrackableImage
NRFrame.GetTrackables<NRTrackableImage>(m_AllTrackableImages, TrackableQueryFilter.All);